The Marks option allows you to determine the marks that will be used with your jobs. Marks assist you in cutting, welding, and framing your finished job.
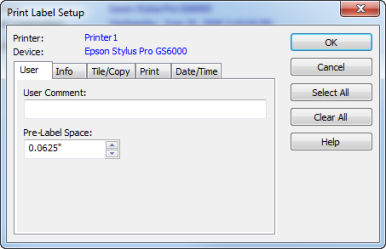
You can also set up the Print Label from the Marks option. The Print Label contains information about your job such as resolution, size, date printed, and so on. This information is printed with your image in one of the margins and can help you recreate the image at a later date.
Tile Dotted Overlap marks are used when tiling images with an overlap. These marks show where the overlap begins and ends to help you combine tiles easily. When piecing the tiles together, the Tile Dotted Overlap Mark of one tile overlays the corresponding mark on the adjacent tile.
To use Tile Dotted Overlap marks, you must first enable Registration marks. You can then select which sides of the image should have the Tile Dotted Overlap marks.
Crop marks are right-angle marks that are placed on the edges of each corner of the image. Because the same area is used for Registration marks, Crop marks do not have any effect if you are already using Registration marks.
Crop Outline prints a solid line around the border of the entire image. When using Crop Outline, the Crop marks have no effect because the solid line is printed in the same area as the Crop marks.
Zero-line Tile marks print a black crosshair with a white inner portion in the middle of the tile overlap area. These marks show the center point of each tile, allowing you to accurately place the tiles.
The Print Label prints job information at the end of the printed image.
To use the Print label, enable the Print Label checkbox, and click Setup. You can then select the type of information you want to include in your Print Label by scanning through and marking the appropriate options.
Select the Use Large Text checkbox to print the label using a 22.5 pt. font instead of the default 7.5 pt.